

Bacon-Ranch Cheese Ball
Introduction
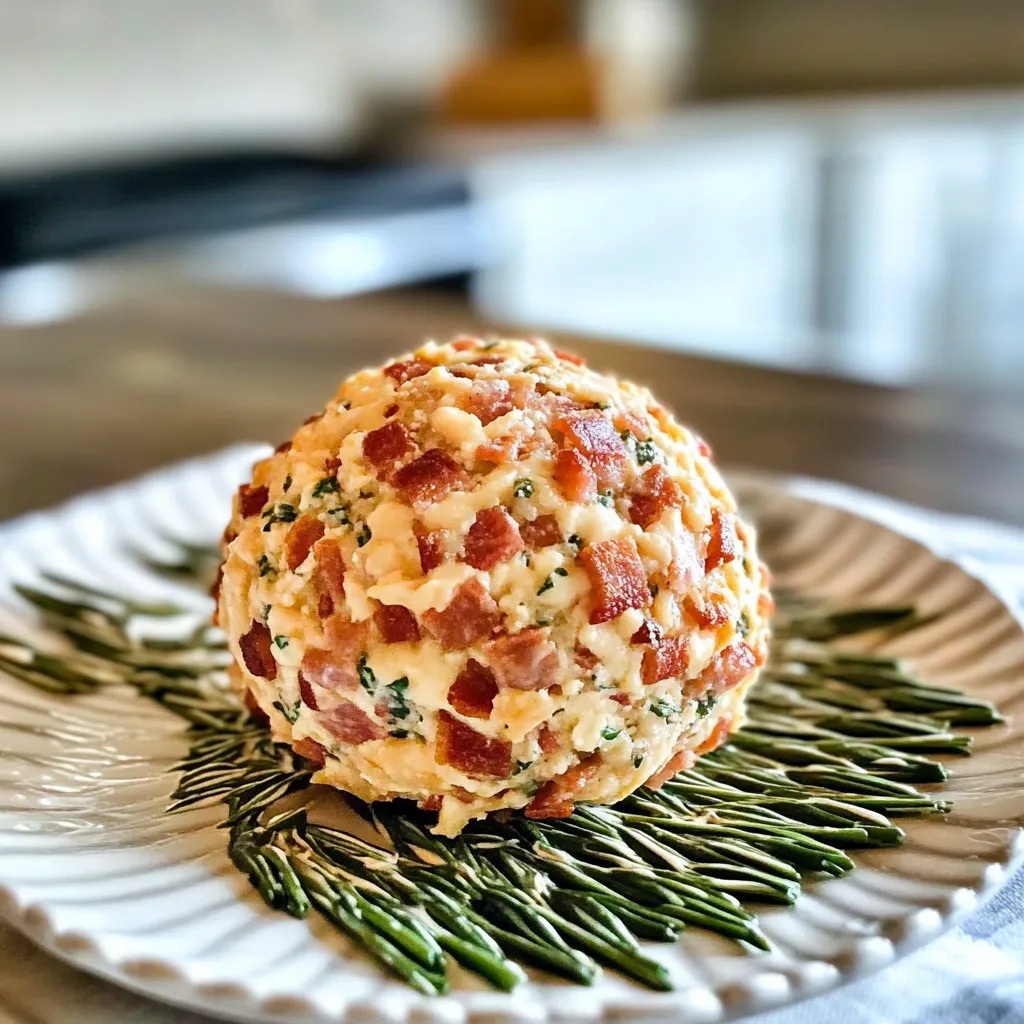
Do you ever have those days when you just want to throw a little party, even if it’s just for yourself? I sure do! There’s something so delightful about gathering around a delicious snack with good friends or family. One of my absolute favorite go-tos for any occasion is the Bacon-Ranch Cheese Ball. It’s creamy, it’s savory, and oh my goodness, that crispy bacon! This dish always manages to pull people together, whether it’s a cozy game night or a casual get-together.
The first time I made this cheese ball was during a chilly fall afternoon. The leaves were crunching underfoot, and I had just returned home from a long week of work. I craved comfort food and decided to whip up this beauty. The moment I took it out of the fridge, the familiar aroma of ranch and bacon filled my kitchen, and just like that, it felt like home. Each bite had that delightful texture that’s creamy yet hearty—so satisfying!
Why You’ll Love This Recipe
- Easy to make: With simple ingredients and no cooking involved, you can whip this up in no time.
- Perfect for gatherings: A crowd-pleaser, this cheese ball is always the star of the appetizer table!
- Flavor-packed: The combination of ranch seasoning, cream cheese, and crispy bacon creates mouth-watering goodness.
- Versatile: Great with crackers, veggies, or even spread on sandwiches.
Ingredients
Ready to dive into this deliciousness? Here’s what you’ll need:
- 8 oz cream cheese, softened
- 1 cup shredded sharp cheddar cheese
- ½ cup crumbled bacon (about 6-8 slices, cooked and cooled)
- ¼ cup green onions, finely chopped
- 2 tablespoons ranch dressing mix (dry)
- ¼ cup chopped walnuts or pecans (optional for rolling)
- Fresh herbs like parsley or chives for garnish (optional)
Tip: If you have a little extra time, using fresh herbs adds a wonderful pop of flavor compared to dried ones.
Step-by-Step Instructions
Let’s make this cheese ball together! Follow these easy steps:
- Mix the base: In a mixing bowl, combine the softened cream cheese, shredded cheddar cheese, crumbled bacon, chopped green onions, and ranch dressing mix. Get in there with a spatula or even your hands! Blend everything until it’s nicely combined.
- Shape it up: Once blended, scoop the mixture into a ball shape. You can either shape it directly in the bowl or transfer it to a piece of plastic wrap for easier handling. If you’re using the wrap, twist the ends tightly to make a ball and refrigerate it for about 30 minutes—this helps it firm up.
- Roll it in goodness: After chilling, take the cheese ball out and roll it in the chopped walnuts or pecans, if you’re using them. This step is optional but adds a delightful crunch!
- Let it sit: Place the cheese ball on your serving platter and let it sit at room temperature for a few minutes before serving—this way, it’ll be perfectly creamy!
- Garnish: Feel free to sprinkle some fresh herbs on top for color and additional flavor before serving.
Watch out: You don’t want to overmix; just enough to combine all the flavors will do!
Pro Tips & Variations
Now that you have the basics down, here are some fun ways to give your cheese ball a little twist:
- Spice it up: Add a pinch of cayenne or some finely chopped jalapeños if you’re in the mood for a kick!
- Herby twist: Swap out the traditional ranch seasoning for other flavor profiles—try dill, tzatziki seasoning, or even Italian herbs.
- Cheese-tastic: Experiment with different types of cheese, like pepper jack for a little heat or feta for a tangy kick.
- Wrap it up: If you’re feeling adventurous, wrap the cheese ball in prosciutto or salami for an extra touch of indulgence.
This cheese ball is versatile enough to let your creativity shine, so don’t be afraid to change things up!
Serving Suggestions
To make your cheese ball even more irresistible, think about what you’ll serve alongside it. Here are a few cozy serving ideas:
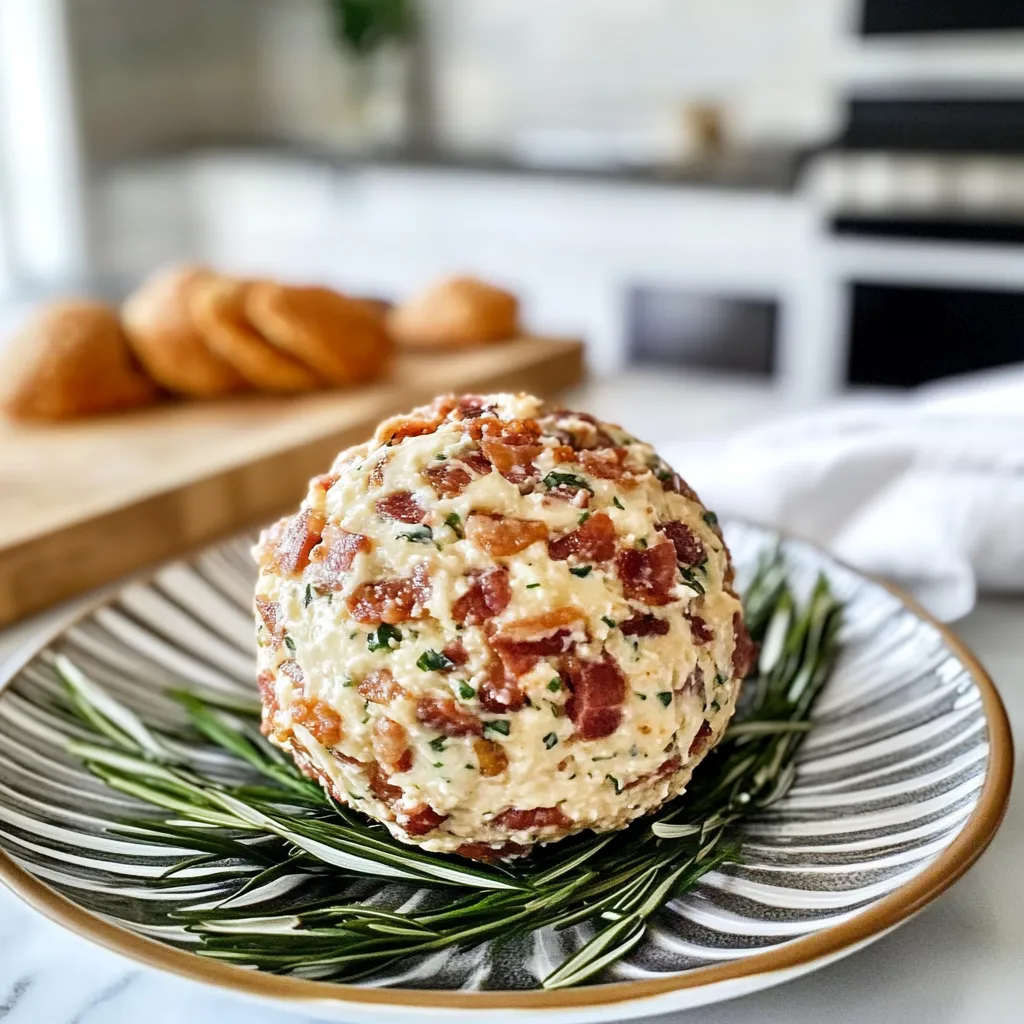
- Crackers: Pair it with an assortment of crunchy crackers—my personal favorite are buttery Ritz or herb-flavored varieties.
- Veggies: Fresh celery sticks, bell pepper slices, or crispy cucumber rounds can add a fresh, crunchy contrast.
- Bread: Serve it alongside sliced baguette or toasted pita for a lovely, rustic touch.
- Wine: A crisp white wine or a light beer can elevate your snacking experience.
Just picture this cheese ball in the center of your table, surrounded by all these colorful accompaniments. It’s so inviting!
Storage Tips
I always find it tough when I have leftovers, but with this cheese ball, it’s a treat! To store:
- Refrigerate: Wrap the remaining cheese ball tightly in plastic wrap or place in an airtight container. It’ll last for about a week in the fridge.
- Freeze: If you want to make it ahead of time, this cheese ball can be frozen! Just wrap it well in plastic wrap, then foil, and it will last for about 2 months. When you’re ready to enjoy, allow it to thaw in the fridge overnight before serving.
- Reheat: You don’t need to reheat it, but allow it to come to room temperature for about 30 minutes before serving again for that creamy texture.
It’s such a comforting feeling to know you have this delicious snack ready for the next craving or gathering!
FAQs
Can I make this cheese ball ahead of time?
Absolutely! This cheese ball can be prepared a day in advance. Just keep it wrapped securely in the fridge until you’re ready to serve.
Can I use low-fat ingredients?
Yes, you can substitute low-fat cream cheese and cheese to lighten it up. Just note that the texture might be slightly different, but it will still be delicious!
How long can I keep the cheese ball in the freezer?
In the freezer, your cheese ball can last for about 2 months. Just be sure to wrap it well to prevent freezer burn!
What’s a good gluten-free option for serving?
There are plenty of gluten-free cracker options available now, or you could serve it with veggies and even crisp apple slices for a sweet contrast!
Can I use other toppings besides nuts?
Definitely! Chopped herbs, crispy fried onions, or even crushed crackers can make for fun and flavorful rolling options!
Conclusion
So, how about gathering your ingredients and making a Bacon-Ranch Cheese Ball for your next gathering or that cozy night in? I can’t wait to hear about your experiences and any flavors you decided to explore. Feel free to drop a comment below and let me know how it turned out or if you’ve put your unique twist on it! Happy snacking, my friend!
 Print
Print
Bacon-Ranch Cheese Ball
- Total Time: 30 minutes
- Yield: 8 servings 1x
Description
Discover a scrumptious Bacon-Ranch Cheese Ball recipe that’s perfect for parties. This cheesy dip combines savory flavors for unbeatable snacking!
Ingredients
Instructions
Notes
This Bacon-Ranch Cheese Ball is creamy, savory, and packed with crispy bacon, making it a perfect crowd-pleaser for any gathering.
- Prep Time: 10 minutes
- Category: Appetizer
- Cuisine: American
Nutrition
- Serving Size: 8 servings
- Calories: 200
- Sugar: 1 gram
- Fat: 18 grams
- Carbohydrates: 2 grams
- Fiber: 0 grams
- Protein: 6 grams
Keywords: Bacon-Ranch Cheese Ball, appetizer, cheese ball, party snack, easy recipe

Leave a Comment