
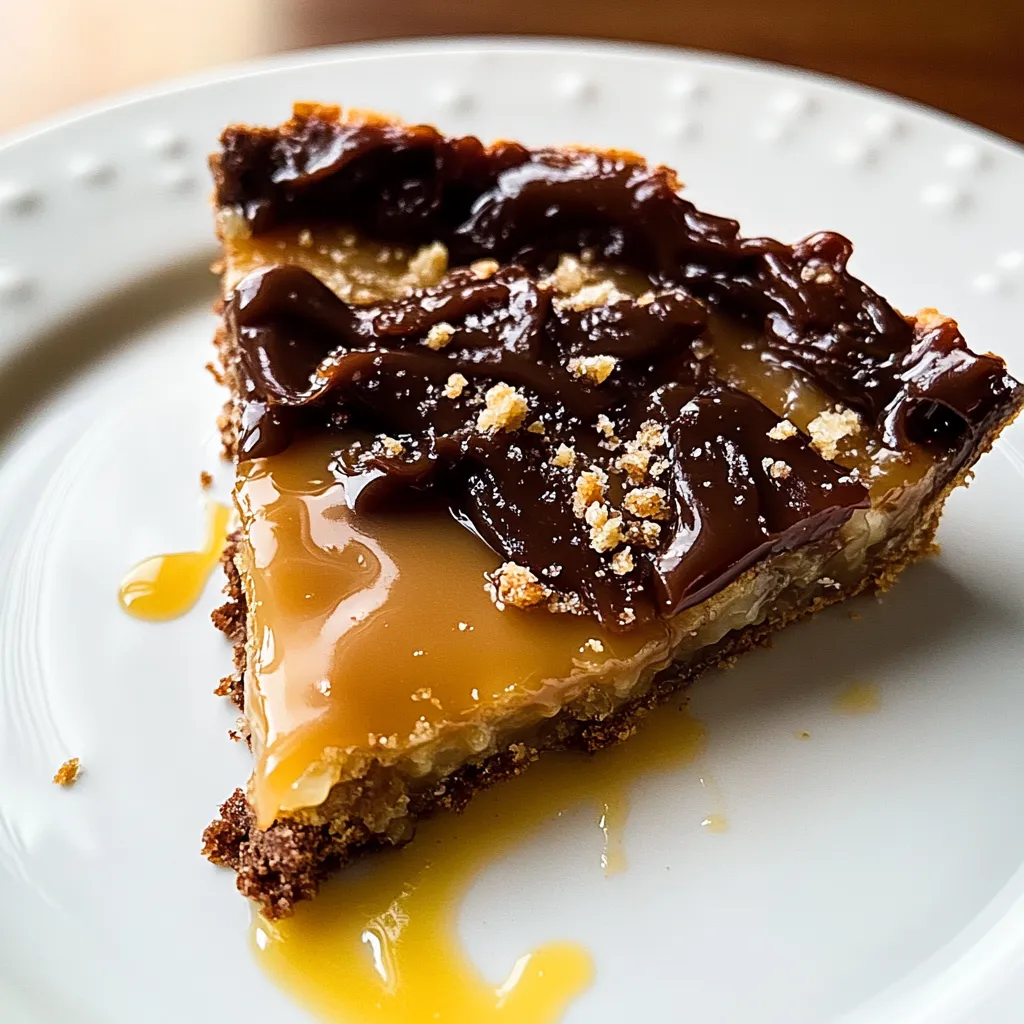
Hey there, sweet friends! Let me set the scene for you: it’s a brisk autumn afternoon, and the leaves outside are turning that beautiful golden hue. The kind of day that makes you want to cozy up in your kitchen. That’s precisely the moment I first attempted making this delightful Caramel Crunch Tart. As the heavenly aroma of buttery caramel filled my house, I couldn’t help but feel warmth spreading inside me—it was like getting a big, sweet hug from the universe. And boy, did that tart deliver! It’s become a staple in my dessert repertoire, perfect for gatherings, cozy nights in, or simply treating yourself after a long day. Trust me, you’re going to fall in love with it just as I did.
Why You’ll Love This Recipe
- Irresistibly sweet and salty: the perfect flavor balance!
- Textures galore: crunchy crust, velvety caramel, and delightful toppings.
- Simple ingredients: you probably have most of them on hand!
- Great for sharing: perfect for potlucks or family gatherings.
- Can be made ahead: just bake, cool, and enjoy at your convenience.
Ingredients
Here’s what you need to whip up this Caramel Crunch Tart:
- For the crust:
- 1 ½ cups all-purpose flour
- ½ cup unsalted butter, chilled and cubed
- ⅓ cup granulated sugar
- 1 egg yolk (large)
- 2-3 tablespoons cold water (as needed)
- For the caramel filling:
- 1 cup granulated sugar
- 6 tablespoons unsalted butter
- ½ cup heavy cream
- 1 teaspoon sea salt (to taste)
- 1 teaspoon vanilla extract
- For the topping:
- 1 cup crushed nuts (like pecans or walnuts)
- ½ cup chocolate chips (optional, but who can resist?)
Tip: Chilling your butter for the crust is essential; it helps create that tender, flaky texture we all crave!
Step-by-Step Instructions
Ready to get baking? Let’s do this!
- Prepare the crust: In a medium bowl, combine the flour and sugar. Add the chilled, cubed butter and mix with a pastry cutter or your fingers until the mixture resembles coarse crumbs.
- Add the egg yolk: Stir in the egg yolk and gradually incorporate the cold water until the dough just holds together. Be careful not to overmix; we don’t want a tough crust!
- Chill the dough: Shape your dough into a disk, wrap it in plastic, and chill in the refrigerator for at least 30 minutes. This will help it hold its shape while baking.
- Preheat your oven: While your crust is chilling, preheat your oven to 350°F (175°C). This gives it a chance to get nice and ready while you finish prepping.
- Roll it out: Once chilled, on a lightly floured surface, roll out the dough to about ¼-inch thick. Gently place it into a tart pan, pressing it into the bottom and up the sides. Trim any excess dough.
- Blind bake: Place a piece of parchment paper over the crust and fill it with pie weights or dried beans to prevent it from puffing up. Bake in your preheated oven for 15 minutes, then remove the weights and bake for an additional 10 minutes or until it’s lightly golden. Allow it to cool completely.
- Make the caramel: In a medium saucepan, heat the granulated sugar over medium heat. Stir constantly until it melts into a beautiful amber color. Be careful not to burn it—trust me, burnt sugar is a sad sight!
- Add the butter: Once your sugar is melted, whisk in the butter until fully combined. The mixture might bubble up—this is normal! Keep it over the heat until it’s smooth.
- Incorporate the cream: Carefully pour in the heavy cream while whisking continuously. It may splatter, so be cautious! The caramel will thicken, and you can stir in the sea salt and vanilla extract once it’s combined.
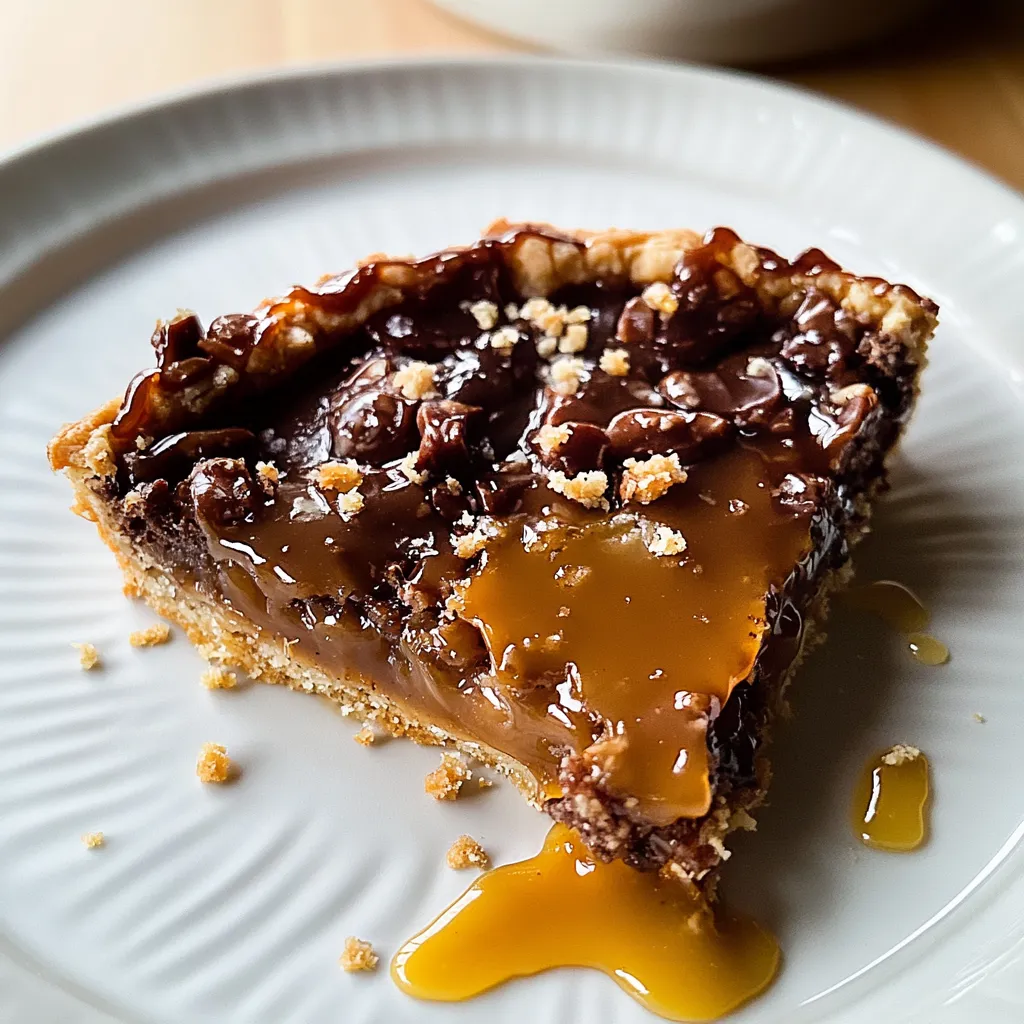
- Assemble your tart: Pour the caramel into the cooled crust, spreading it evenly. Sprinkle the crushed nuts over the top, and if you’re feeling indulgent, toss on those chocolate chips!
- Chill and set: Refrigerate the tart for at least 2 hours, allowing the caramel to set fully. This is the hardest part, but you can do it!
Pro Tips & Variations
Want to switch things up a bit? Here are some fun twists to consider:
- Flavor variations: Add a pinch of cinnamon or nutmeg to the caramel for a spiced twist. You could even use flavored extracts like almond or maple instead of vanilla!
- Nutty alternatives: Swap out nuts for sprinkles, crushed cookies, or even toffee bits for added crunch and different textures.
- Diet swaps: For a gluten-free option, use your favorite gluten-free flour for the crust. You can also try coconut cream instead of heavy cream for a dairy-free caramel!
Serving Suggestions
When it’s finally time to slice into your beautiful Caramel Crunch Tart, imagine the joy on your friends’ faces! I love serving it with a scoop of creamy vanilla ice cream or a dollop of fresh whipped cream on the side. A hot cup of coffee pairs beautifully, making it the perfect treat for brunch or a cozy evening snack. Just picture it: your loved ones gathering around the table, laughter filling the air, and everyone diving into that luscious tart—a moment that feels like a warm hug!
Storage Tips
Leftover tart? No problem! Here’s how to keep it fresh:
- Refrigerating: Store any leftovers in an airtight container in the fridge for up to a week. Just make sure it’s well-covered to avoid that drafty fridge taste!
- Freezing: You can freeze the uncut tart for up to 3 months. Just wrap it tightly in plastic wrap and then in foil. When ready to enjoy, let it thaw in the fridge overnight before serving.
- Reheating: If you want to serve it warm, pop individual slices in the microwave for about 10-15 seconds. Top with a bit more fresh cream or nuts for an extra treat!
FAQs
Can I make the tart crust ahead of time?
Absolutely! You can prepare the dough up to two days ahead. Store it wrapped in plastic wrap in the fridge, or freeze it for longer storage. Just remember to let it thaw before rolling it out!
What should I do if my caramel hardens?
Don’t worry! If your caramel cools and becomes too hard, simply reheat it on low heat with a splash of cream or milk until it softens again. Stir thoroughly for a smooth texture!
How can I tell when the caramel is ready?
The color is key! You want it to be a deep amber shade. It should have a fragrant, toasty aroma, and when you dip a spoon, it should coat the back lightly. Practice makes perfect!
Can I use store-bought caramel?
Sure thing! If you’re short on time, using store-bought caramel sauce is a great shortcut. Just make sure to heat it gently to make it pourable if it’s thick.
How long does the tart last?
When properly stored, your delicious tart will last about a week in the fridge. Trust me, though—it’s so good, it’s unlikely to last that long anyway!
Conclusion
And there you have it—a delightful Caramel Crunch Tart that’s sure to please your taste buds and those of your loved ones. I can’t wait for you to try making this and to hear all about how it turned out! Whether it’s for a special occasion or just because you deserve a treat, this tart will make you feel like a superstar in the kitchen. Share your creations in the comments below, and let’s keep the sweet vibes going! Happy baking, my friends!
Irresistible Caramel Crunch Tart Recipe for Dessert Lovers
- Total Time: 1 hour 10 minutes
- Yield: 8 servings 1x
Description
Delight in a silky Caramel Crunch Tart thats a musttry for dessert enthusiasts Easy to make and packed with flavor its a sweet indulgence
Ingredients
Instructions
Notes
A delightful Caramel Crunch Tart that balances sweet and salty flavors with a crunchy crust and velvety caramel filling, perfect for gatherings or treating yourself.
- Prep Time: 30 minutes
- Cook Time: 40 minutes
- Category: Dessert
- Cuisine: American
Nutrition
- Serving Size: 8 servings
- Calories: 350
- Sugar: 20g
- Fat: 20g
- Carbohydrates: 36g
- Fiber: 1g
- Protein: 4g
Keywords: Caramel Crunch Tart, dessert, fall recipes, easy tart


Leave a Comment