
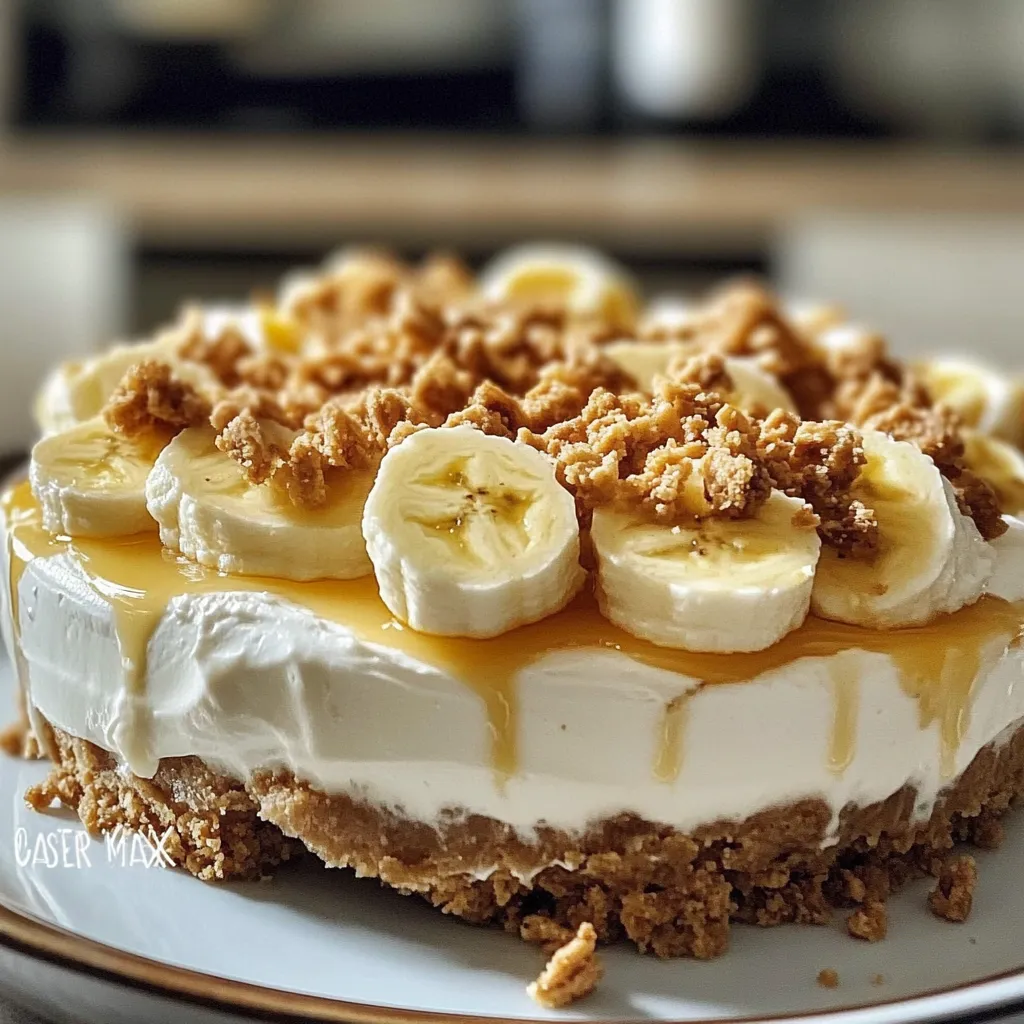
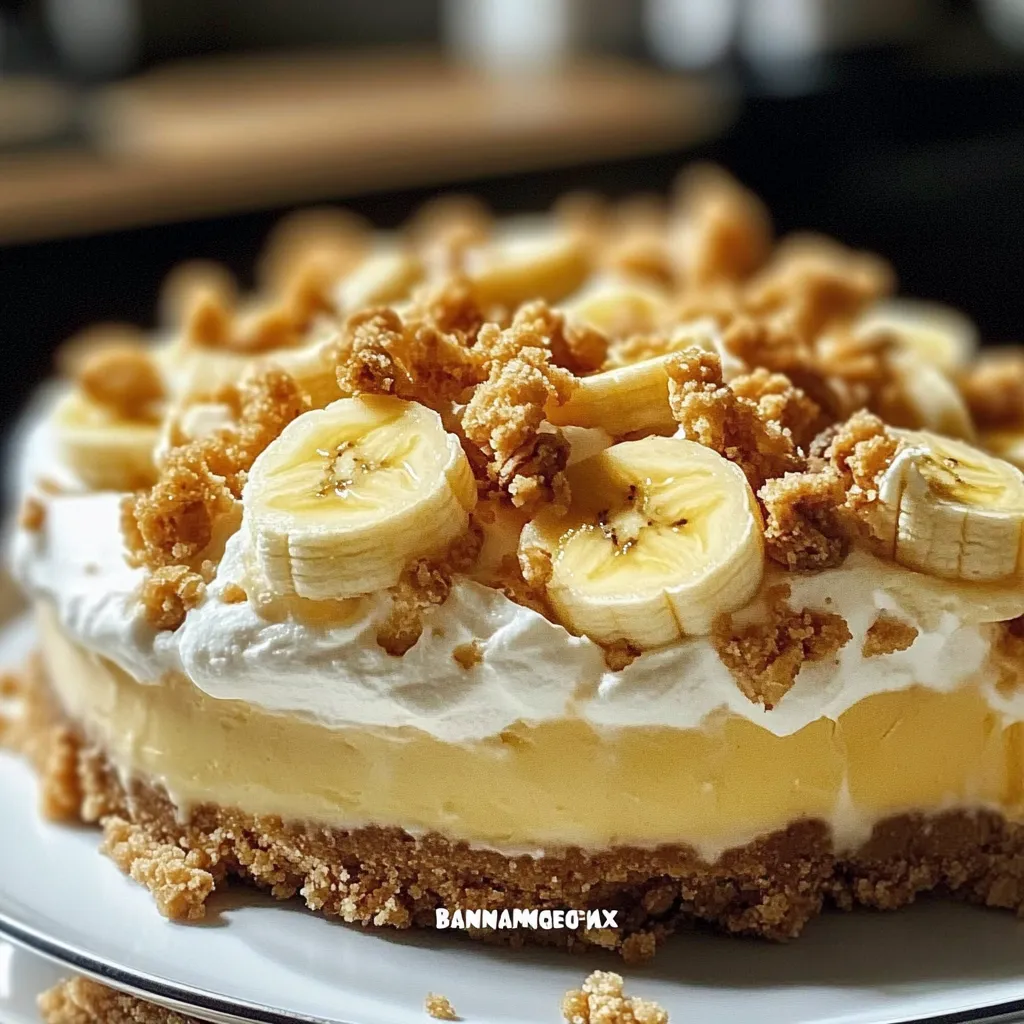
BANANA PUDDING CRUNCH CHEESECAKE
Introduction
Oh, how I adore a good cheesecake! There’s something incredibly indulgent about its creamy texture combined with a delicious crust. It’s like a hug in dessert form! Speaking of hugs, one of my fondest memories is sitting at my grandmother’s kitchen table on a warm summer afternoon, where the delightful aroma of overripe bananas and whipped cream danced in the air. That’s the essence I channel when I whip up this heavenly BANANA PUDDING CRUNCH CHEESECAKE.
This dessert truly is the perfect blend of two classics: the comforting charm of banana pudding and the rich, velvety goodness of cheesecake. Imagine a silky cheesecake enveloped in layers of sweet bananas, topped with a crunchy vanilla wafer crumble—it’s a slice of pure bliss that will make your taste buds do a happy dance. If you’re looking to impress at your next gathering or just treat yourself on a cozy weeknight, you’ll want to keep this recipe close by!
Why You’ll Love This Recipe
- Quick and easy preparation—perfect for busy evenings.
- Kid-friendly and sure to please the entire family!
- Rich yet light texture that melts in your mouth.
- Stunning presentation that makes it a showstopper at gatherings.
- Budget-friendly ingredients that you probably have on hand.
Ingredients
Let’s gather our ingredients! You’ll need some pantry staples, but don’t worry—they’re easy to find:
- Crust:
- 2 cups vanilla wafer crumbs (about 40 wafers) (Feel free to crush them slightly less for a chunkier texture!)
- 1/2 cup unsalted butter, melted
- 1 tablespoon sugar
- Cheesecake Filling:
- 16 oz cream cheese, softened
- 1 cup granulated sugar
- 1 teaspoon vanilla extract
- 3 large eggs
- 1/2 cup sour cream (adds wonderful tanginess!)
- Banana Layer:
- 2 ripe bananas, sliced
- Topping:
- 1 cup whipped cream (homemade or store-bought—no judgment here!)
- 1/2 cup additional vanilla wafer crumbs
Step-by-Step Instructions
Let’s dive into this delicious process! Don’t worry; it’s easier than it looks, and I promise you’ll love the outcome.
- Preheat your oven: Get it nice and warm at 325°F (160°C). This will ensure that your cheesecake bakes evenly and sets perfectly.
- Make the crust: In a medium bowl, mix the vanilla wafer crumbs, melted butter, and sugar until it resembles wet sand. Press this mixture firmly into the bottom of a 9-inch springform pan to form your crust. Use the back of a measuring cup for an even layer!
- Bake the crust: Pop it in your preheated oven for 10 minutes. This little bake helps set the crust so it’ll be nice and crunchy. Let it cool on a wire rack while you prepare the filling.
- Prepare the filling: In a large mixing bowl, beat the softened cream cheese until smooth using an electric mixer. Gradually blend in the sugar and vanilla extract.
- Add the eggs: One at a time, beat in the eggs, mixing just until combined. Don’t overmix or your cheesecake will become dense—keep it light and fluffy!
- Incorporate sour cream: Gently fold in the sour cream until it’s fully blended into the mixture.
- Layer in the bananas: Layer the sliced bananas evenly over the cooled crust. This adds a lovely texture and flavor dimension.
- Pour the filling: Spread the cheesecake filling over the banana layer, smoothing the top with a spatula. It’s okay if it covers the bananas a little; they will peek through later!
- Bake the cheesecake: Place your springform pan in the oven and bake for about 55–60 minutes, or until the edges are set but the center still has a slight jiggle. This is important for that creamy texture!
- Cool it down: After baking, allow the cheesecake to cool in the pan at room temperature for about 30 minutes before transferring it to the refrigerator to chill for at least 4 hours (or ideally, overnight). Patience is key here!
Pro Tips & Variations
Feel free to get creative! Here are some ideas and tweaks to take your cheesecake to the next level:
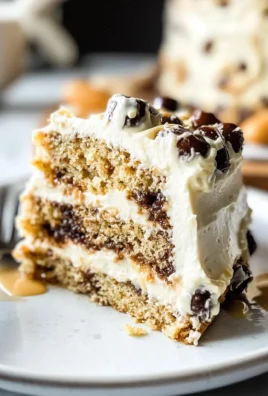
- Nutty twist: Add chopped walnuts or pecans to the crust for an extra crunch.
- Make it mocha: Swirl in some espresso powder or coffee liqueur into the filling for a coffee-flavored version!
- Chocolate lovers: Add chocolate shavings to the topping or swirl in some melted chocolate into the filling.
- Dairy-free: Substitute cream cheese with a vegan cream cheese alternative and use coconut cream for the whipped topping.
Serving Suggestions
Now, let’s talk about how to serve this beauty! Picture this: a slice of your BANANA PUDDING CRUNCH CHEESECAKE on a lovely dessert plate, drizzled with caramel sauce and adorned with a dollop of whipped cream. You can serve it alongside a hot cup of coffee or a refreshing glass of iced tea. It would also be delightful with some fresh berries to add a splash of color.
If you’re feeling extra fancy, garnish with banana chips or sprinkle with more crushed vanilla wafers to make it pop on the table. Trust me; a little extra flair never hurts!
Storage Tips
Leftovers? What leftovers? But if you happen to have some cheesecake remaining (I won’t judge), here’s how to store it:
- Refrigerate: Wrap the cheesecake tightly in plastic wrap or store it in an airtight container. It will keep well in the refrigerator for up to 5 days.
- Freeze: You can freeze the cheesecake before adding the topping! Just wrap it in plastic wrap and then in aluminum foil. It should be good for up to 3 months. Thaw it in the fridge overnight before serving.
- Reheat: If you like it a little warm, you can pop a slice in the microwave for about 10-15 seconds. Just don’t overdo it; we want to preserve that creamy texture!
FAQs
Can I use other types of fruit in this cheesecake?
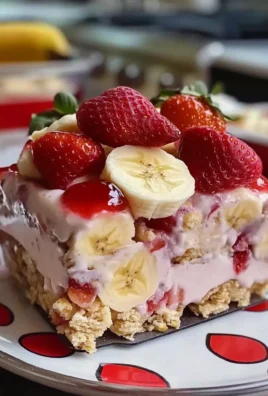
Absolutely! While banana is the star, you can get creative with other fruits like strawberries, peaches, or blueberries. Just make sure you adjust the sweetness accordingly!
What if I don’t have a springform pan?
No worries! You can use a regular cake pan, but just be prepared to chill it longer and use a knife to carefully cut slices. A springform pan does make things a bit easier, but it’s not a dealbreaker!
How do I know when the cheesecake is done?
A slight jiggle in the center is key! It should be set around the edges and a little wobbly in the center. It will firm up as it cools, so focus on those edges!
Can I make this cheesecake ahead of time?
Yes! In fact, I recommend making it a day ahead so it can chill properly. The flavors meld beautifully overnight, creating an even tastier experience!
Conclusion
There you have it—a scrumptious BANANA PUDDING CRUNCH CHEESECAKE that brings together the best of two worlds. Now, I invite you to make this delightful treat and share it with friends and family (or keep it all to yourself—no judgment here!). I love hearing your feedback, so drop a comment below and tell me how your cheesecake turned out. Let’s create delicious memories together, one slice at a time!
Print
BANANA PUDDING CRUNCH CHEESECAKE
- Total Time: 4 hours 30 minutes
- Yield: 8 servings 1x
Description
Discover the ultimate banana pudding crunch cheesecake with layers of flavor, creamy texture, and a crunch that will delight every dessert lover!
Ingredients
Instructions
Notes
This delicious Banana Pudding Crunch Cheesecake is a perfect blend of creamy cheesecake and layers of sweet bananas, topped with a crunchy vanilla wafer crumble.
- Prep Time: 30 minutes
- Cook Time: 60 minutes
- Category: Dessert
- Cuisine: American
Nutrition
- Serving Size: 8 servings
- Calories: 350
- Sugar: 20g
- Fat: 22g
- Carbohydrates: 35g
- Fiber: 1g
- Protein: 5g
Keywords: Banana Pudding, Cheesecake, Dessert, American Dessert, Banana Dessert

Leave a Comment