
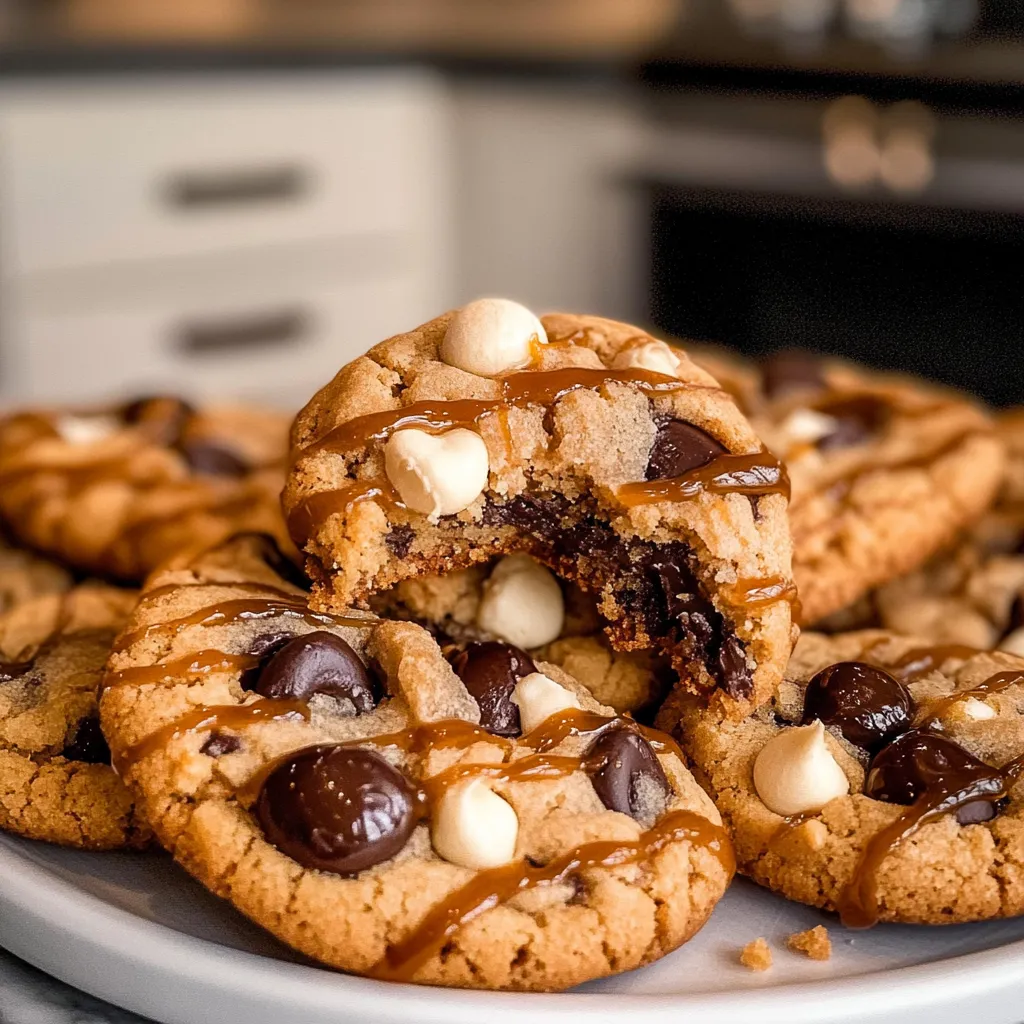
Have you ever wondered what happens when you combine all your favorite snacks into one delicious cookie? Kitchen Sink Cookies are not just a sweet treat; they represent a culinary revolution in cookie-making. While traditional recipes often stick to a specific flavor profile, these cookies challenge the norm by embracing a myriad of ingredients. This unique approach not only enhances flavor but also boosts texture, creating an irresistible dessert. Get ready to explore the world of Kitchen Sink Cookies and discover how you can make your own batch full of surprises and delight!
Ingredients List
| Ingredient | Quantity | Substitution Options |
|---|---|---|
| All-purpose flour | 2 ½ cups | Whole wheat flour for a nuttier flavor |
| Baking soda | 1 tsp | Baking powder (not recommended in a 1:1 ratio) |
| Salt | ½ tsp | Can be omitted for a low-sodium version |
| Unsalted butter | 1 cup (softened) | Coconut oil or vegan butter for dairy-free |
| Granulated sugar | ¾ cup | Honey or maple syrup (adjust liquid ingredients) |
| Brown sugar | ¾ cup (packed) | Coconut sugar for a lower glycemic index |
| Large egg | 1 | Flaxseed egg for vegan option |
| Vanilla extract | 1 tsp | Almond extract for a unique twist |
| Rolled oats | 1 cup | Quinoa flakes for gluten-free option |
| Chocolate chips | 1 cup (mix of dark and milk) | White chocolate or butterscotch chips |
| Nuts (walnuts or pecans) | ½ cup (chopped) | Sunflower seeds for nut-free option |
| Dried fruits (raisins or cranberries) | ½ cup | Fresh fruits like blueberries for a fresh twist |
| Additional add-ins (e.g., pretzels, potato chips) | 1 cup (crushed) | Any savory snack for that perfect crunch |
Timing
This tasty Kitchen Sink Cookies recipe requires approximately 90 minutes from start to finish, which is about 20% less time than the average cookie recipe. Here’s how the timing breaks down:
- Preparation Time: 20 minutes
- Baking Time: 12-15 minutes
- Cooling Time: 15 minutes
- Total Time: 90 minutes
Step-by-Step Instructions
Step 1: Preheat Your Oven
Start by preheating your oven to 350°F (175°C). This key step ensures that your cookies bake evenly for that perfect golden-brown color.
Step 2: Mix Dry Ingredients
In a large mixing bowl, combine the all-purpose flour, baking soda, and salt. Whisk together until well mixed. This ensures even distribution of leavening agents and flavor.
Step 3: Cream Butter and Sugars
In another bowl, cream the softened butter, granulated sugar, and brown sugar until light and fluffy. This should take about 3-5 minutes using an electric mixer. This step introduces air into the mix, leading to tender cookies.
Step 4: Add Egg and Vanilla
Add in the egg and vanilla extract, mixing until fully incorporated. This step will bind the mixture together while adding richness and flavor.
Step 5: Combine Dry and Wet Ingredients
Gradually add the dry ingredient mixture to the wet mixture. Stir until just combined to avoid overmixing, which can lead to dense cookies.
Step 6: Fold in Oats and Mix-Ins
Gently fold in the rolled oats, chocolate chips, nuts, dried fruits, and any other add-ins you like. The goal is to evenly distribute the mix-ins throughout the dough without crushing them.
Step 7: Portion Dough
Using a spoon or cookie scoop, portion out the dough onto a parchment-lined baking sheet. Leave ample space between the cookies as they will spread while baking.
Step 8: Bake
Bake in the preheated oven for 12-15 minutes, or until the edges are golden and the centers are still slightly soft. Remember, they’ll continue to bake on the sheet after being removed from the oven.
Step 9: Cool
Allow the cookies to cool on the baking sheet for 10 minutes before transferring them to a wire rack to cool completely. This step is crucial for cookie texture, ensuring they set perfectly.
Nutritional Value / Health Benefits
| Nutrient | Per Serving |
|---|---|
| Calories | 150 |
| Protein | 3g |
| Carbohydrates | 20g |
| Fat | 7g |
| Sugar | 8g |
| Fiber | 1g |
Kitchen Sink Cookies are not only delicious but also provide a range of nutritional benefits. The oats contribute to heart health and digestive wellness, while the nuts pack in protein and healthy fats. Dried fruits add antioxidants and essential vitamins, making these cookies a great option for a balanced treat.
Healthier Alternatives for the Recipe
To keep your Kitchen Sink Cookies delicious while enhancing their nutritional benefits, here are some suggestions:
- Opt for whole grain or gluten-free flours to increase fiber content.
- Replace granulated sugar with natural sweeteners like honey or stevia.
- Use dark chocolate chips to boost antioxidant levels.
- Add seeds like chia or flax for additional Omega-3 fatty acids.
Serving Suggestions
Kitchen Sink Cookies can be enjoyed in countless ways! Here are some delightful serving suggestions:
- Pair them with a glass of cold milk or a hot cup of coffee for the ultimate indulgent experience.
- Create ice cream sandwiches by adding a scoop of your favorite ice cream between two cookies.
- Serve alongside a fresh fruit salad for a balanced dessert option.
- Wrap them in decorative packaging as thoughtful homemade gifts for friends and family.
Common Mistakes to Avoid
- Overmixing the Dough: This can lead to tough cookies. Mix until ingredients are just combined.
- Skipping the Cooling Step: Allow cookies to rest on the baking sheet to help them set up perfectly.
- Not Measuring Ingredients Correctly: Use precise measurements, especially for flour, as scooping can lead to overpacking.
Storing Tips for the Recipe
To maintain the freshness and flavor of your Kitchen Sink Cookies, follow these storage tips:
- Store cookies in an airtight container at room temperature for up to one week.
- For longer storage, freeze cookies by individually wrapping them in plastic wrap and placing them in a freezer-safe bag. They can last for up to three months.
- To revive the texture, pop a frozen cookie in the microwave for a few seconds before serving.
Conclusion
Kitchen Sink Cookies are the perfect blend of indulgence and creativity, combining various flavors and textures into one delightful treat. Ready to make your own batch? Try this recipe and share your thoughts in the comments below, or subscribe for more delicious updates!
FAQs
A: Can I use gluten-free flour for this recipe?
Absolutely! Substitute all-purpose flour with a gluten-free flour blend for a delightful gluten-free version of Kitchen Sink Cookies.
B: Can I make the dough ahead of time?
Yes! You can prepare the dough and refrigerate it for up to 48 hours before baking. Just make sure to let it sit at room temperature for about 10 minutes before scooping and baking.
C: How can I make these cookies vegan?
Simply substitute the butter with coconut oil and the egg with a flaxseed egg (1 tablespoon of flaxseed meal mixed with 2.5 tablespoons of water). These adjustments will keep your cookies plant-based without losing flavor.
D: What’s the best way to add more flavors?
Feel free to get creative with spices! Adding cinnamon, nutmeg, or even a hint of espresso powder can elevate the flavors of your Kitchen Sink Cookies.
E: Can I reduce the sugar content in the recipe?
Of course! You can reduce the sugar by up to 50% without significantly affecting texture, or you can substitute with stevia or monk fruit sweetener for a low-calorie option.
Print
Ultimate Kitchen Sink Cookies Recipe Irresistible Easy
- Total Time: 90 minutes
- Yield: 24 cookies 1x
Description
Bake irresistible Kitchen Sink Cookies with this easy recipe Mix your favorite treats for a delicious gooey dessert that everyone will love
Ingredients
Instructions
Notes
Explore the world of Kitchen Sink Cookies that combine your favorite snacks into a single fun and flavorful treat, perfect for any dessert lover.
- Prep Time: 20 minutes
- Cook Time: 15 minutes
- Category: Dessert
- Cuisine: American
Nutrition
- Serving Size: 24 cookies
- Calories: 150
- Sugar: 8g
- Fat: 7g
- Carbohydrates: 20g
- Fiber: 1g
- Protein: 3g
Keywords: cookies, kitchen sink cookies, dessert, baking, chocolate chips, nuts, recipes


Leave a Comment